Hey there! Whether you’re tackling your first DIY furniture makeover or you’ve been painting pieces for years, welcome. It’s always satisfying to breathe new life into an old piece of wood furniture—but it can also be frustrating when the paint chips or the finish looks uneven. I’ve been there. That’s why I’m sharing everything I’ve learned from trial, error, and a whole lot of sanding dust.
This guide is designed to help you get smooth, professional-looking results that actually last. Let’s dive in and make your next project one you’ll be proud of.
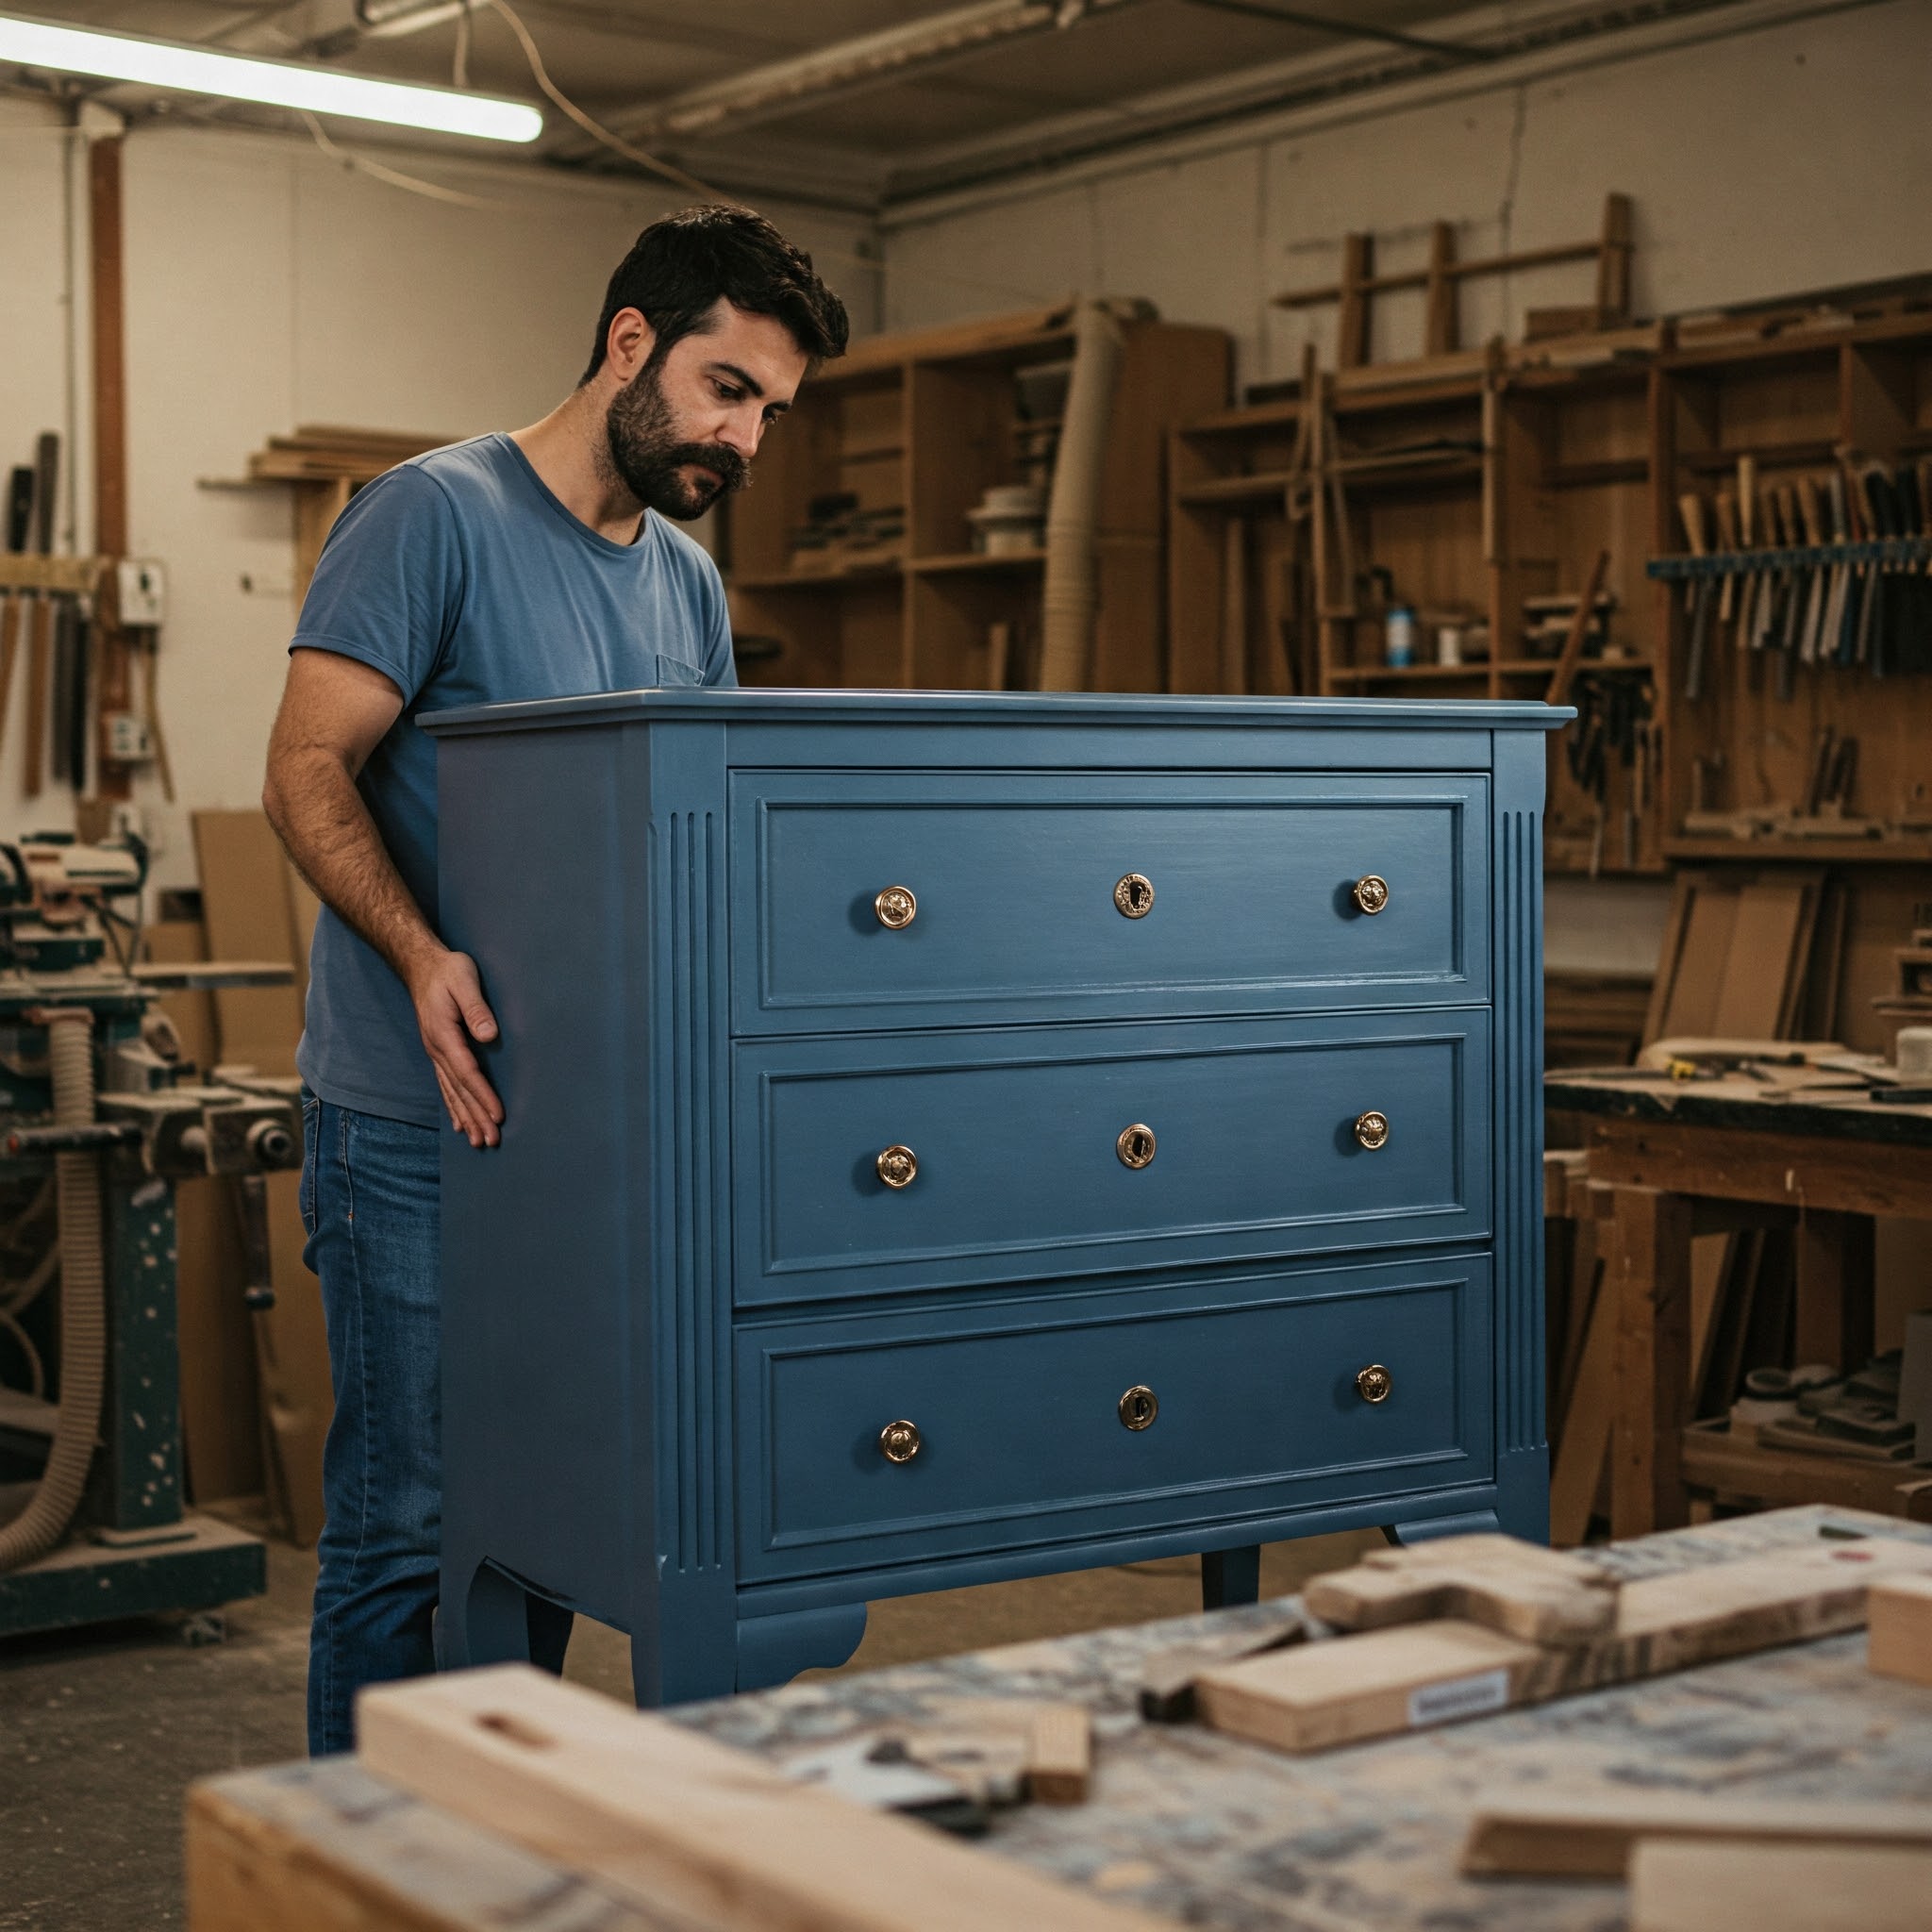
Giving old wooden furniture a fresh coat of paint is one of the easiest ways to transform a space. But if you rush through the process, you’ll end up with chipped paint, visible brush strokes, and a finish that doesn’t last. This guide walks you through how to paint wood furniture the right way—so it looks professionally done and holds up for years.
What You’ll Need:
Before diving in, make sure you’ve got the right tools and materials. Having the right setup not only makes the job easier but also dramatically improves your results. Here’s what I personally use for every furniture painting project, and why each one matters:
- Sandpaper (120 and 220 grit): You’ll need 120 grit to break through old finishes or glossy surfaces and 220 grit to smooth things out between coats. Sanding properly is the foundation of a long-lasting paint job.
- Microfiber cloth or lint-free rag: After sanding or cleaning, use this to remove dust and residue without leaving fibers behind. This ensures your surface is truly clean before applying primer or paint.
- Mild cleaner: Grease, grime, or even old polish can prevent paint from sticking. A solution of dish soap and warm water is enough for light cleaning. For tougher jobs, use TSP (trisodium phosphate) to fully degrease the surface.
- Wood primer: This is what helps paint bond well and creates a smooth, sealed base. It also blocks stains or wood tannins from bleeding through, especially if you’re painting a light color over dark wood.
- High-quality paint: Invest in a good brand of latex or enamel paint. Latex is easier to clean and dries quickly, while enamel gives a harder, more durable finish. Avoid cheap paint—it may take more coats and still chip faster.
- Synthetic brush and/or foam roller: A synthetic brush works great for detailed areas and corners, while a foam roller gives a smooth finish on flat surfaces. Using the right applicator can mean the difference between streaks and sleek.
- Top coat or sealant: Polyurethane offers maximum durability—ideal for high-traffic pieces. Polycrylic is best for light-colored paints, as it won’t yellow over time. Both protect your paint job from wear and moisture.
- Tack cloth: This sticky cloth picks up fine dust left behind after sanding, which could otherwise cause bumps in your finish. It’s a small step with a big impact.
- Gloves and dust mask: Always protect your hands from chemicals and your lungs from fine dust or fumes. Even water-based products can release particles you don’t want to breathe in.
Step 1: Clean the Surface Thoroughly
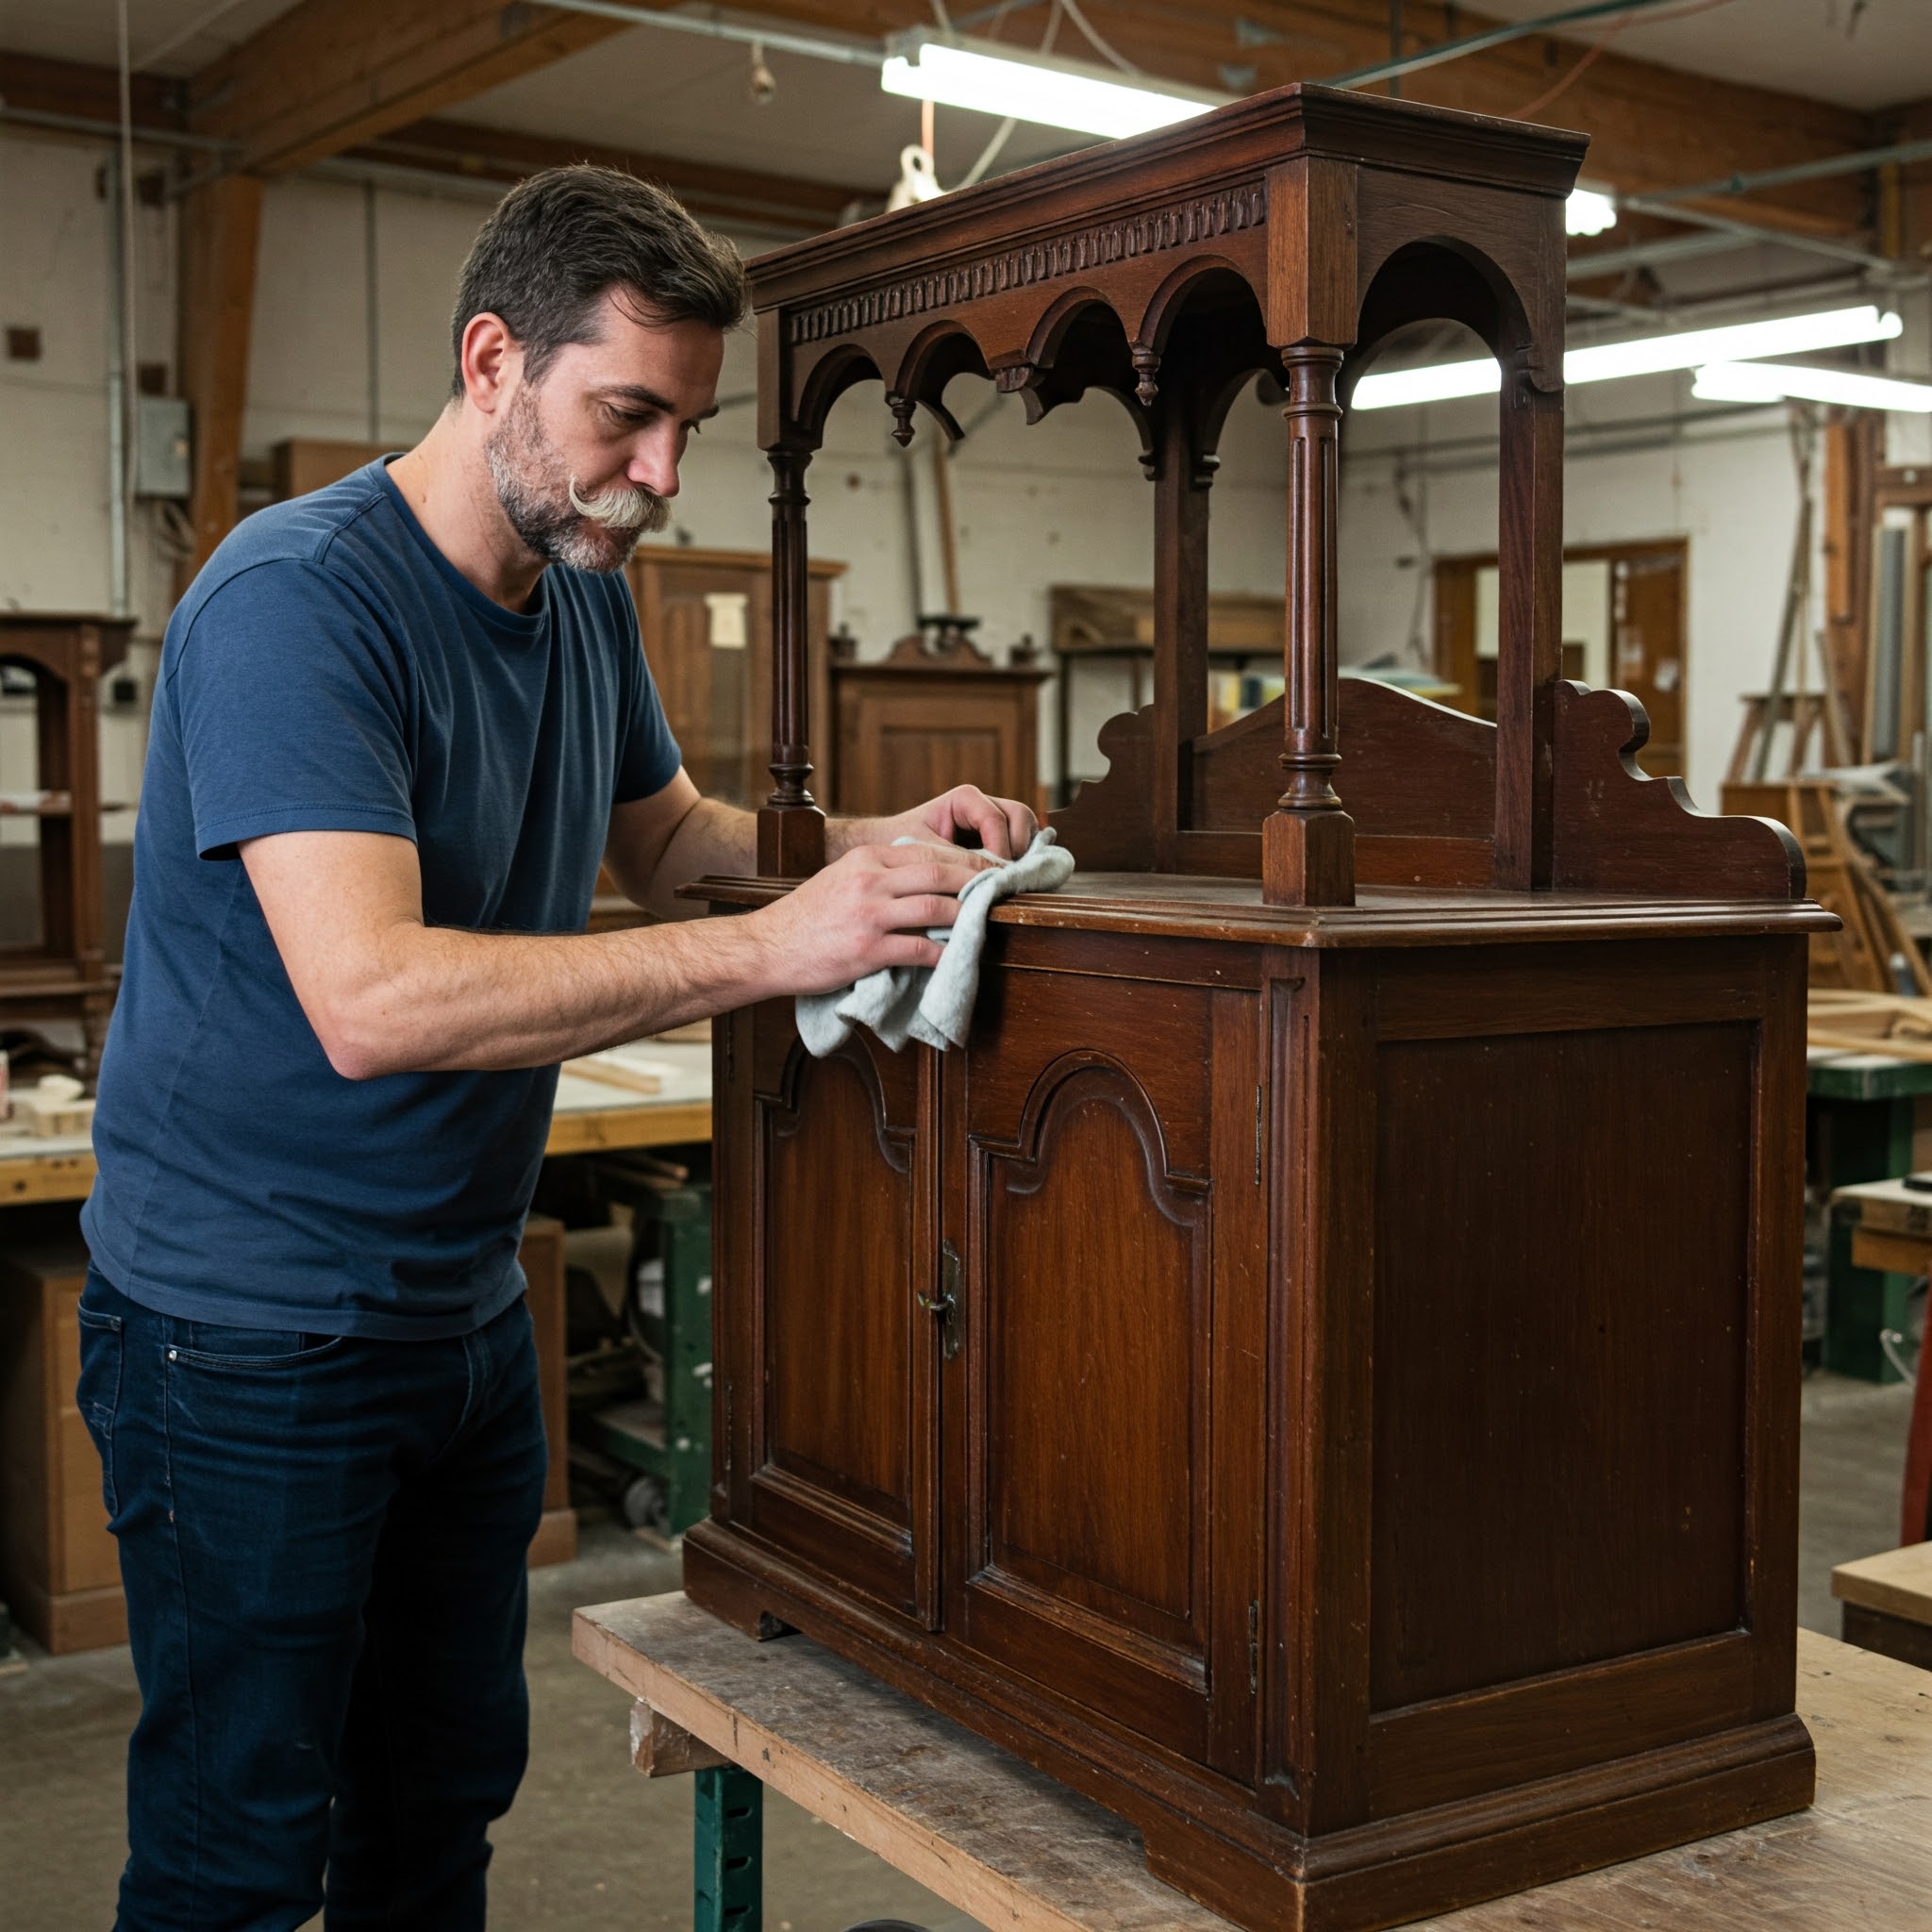
This is the step people often skip—and regret later. Dirt, oil, and grime will prevent paint from sticking properly. I usually mix warm water with a bit of dish soap and scrub the entire surface with a sponge. Rinse and dry it well.
For older, greasy furniture, I recommend TSP (trisodium phosphate). It cuts through tough residue and ensures a clean surface. Always follow up by wiping off any leftover cleaner, so it doesn’t interfere with your primer or paint.
Step 2: Sand for Better Paint Adhesion
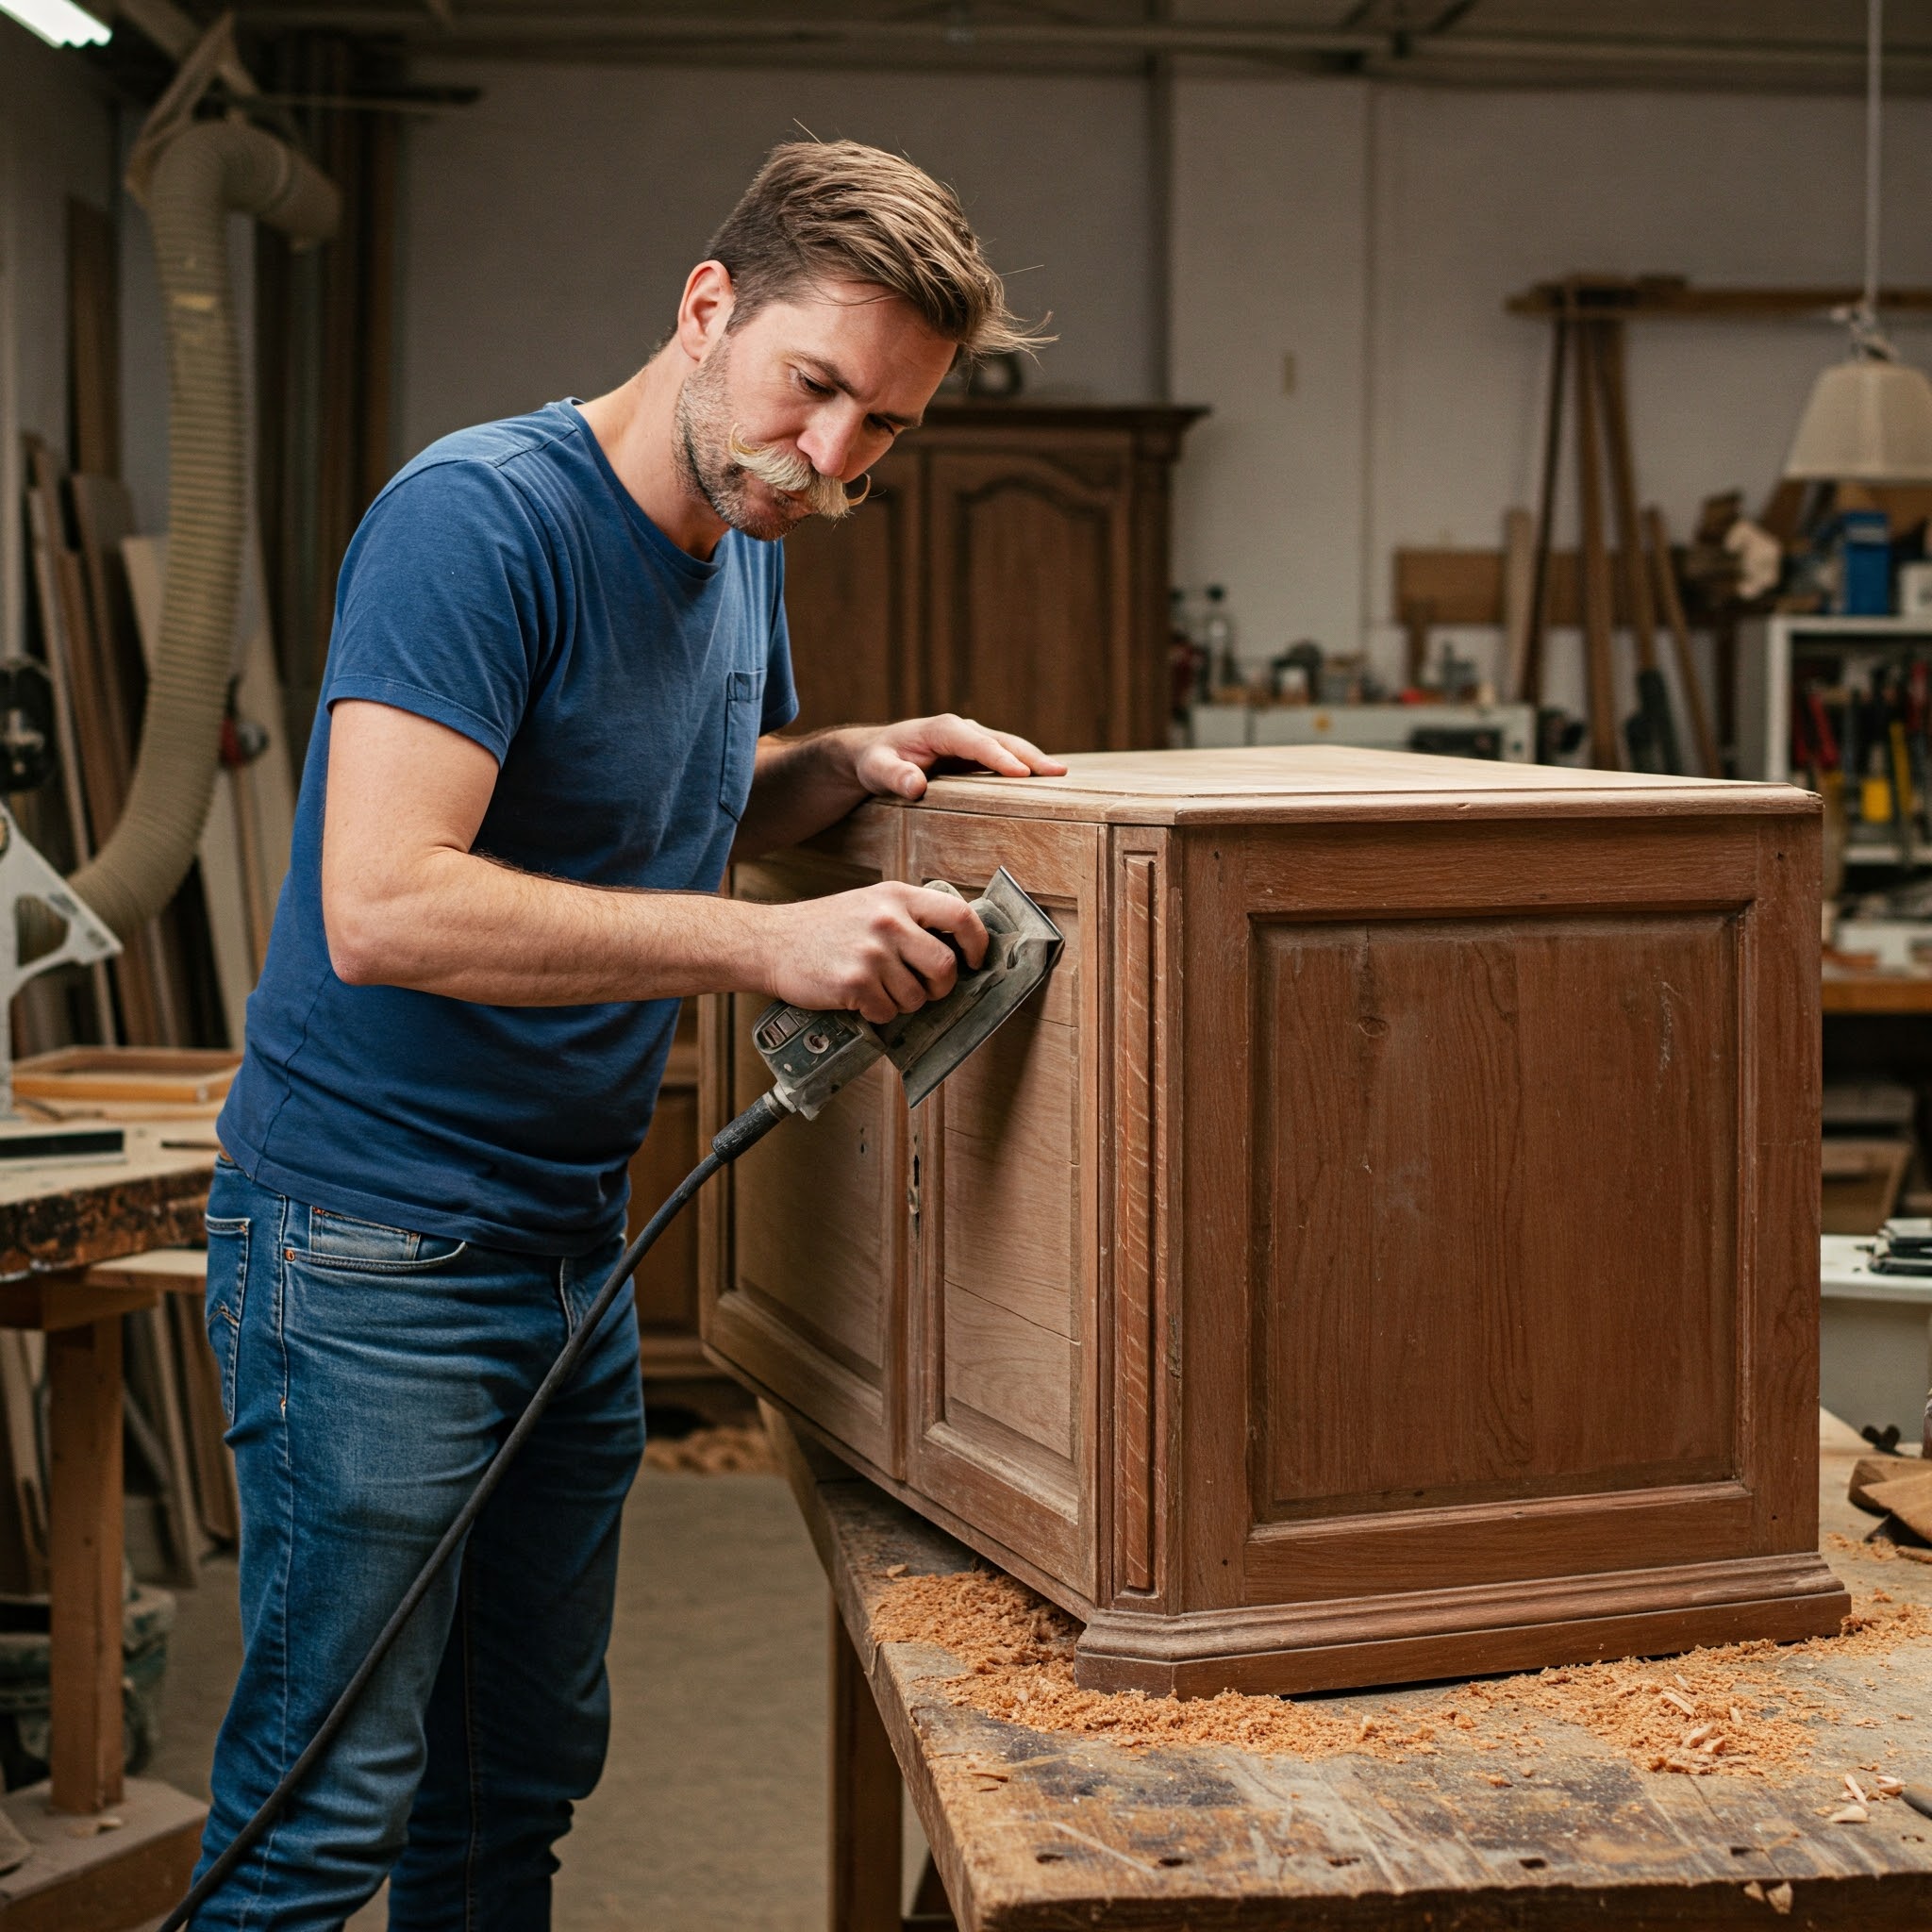
Sanding gives your furniture a slightly rough surface for primer and paint to cling to. Start with 120-grit to remove old finishes, then move to 220-grit for a smooth finish.
Always sand with the grain—not against it. This prevents scratches that can show through the paint. Use a sanding block or an orbital sander if you’re working with a larger piece. When you’re done, wipe down every inch with a tack cloth to remove all sanding dust.
Step 3: Don’t Skip the Primer
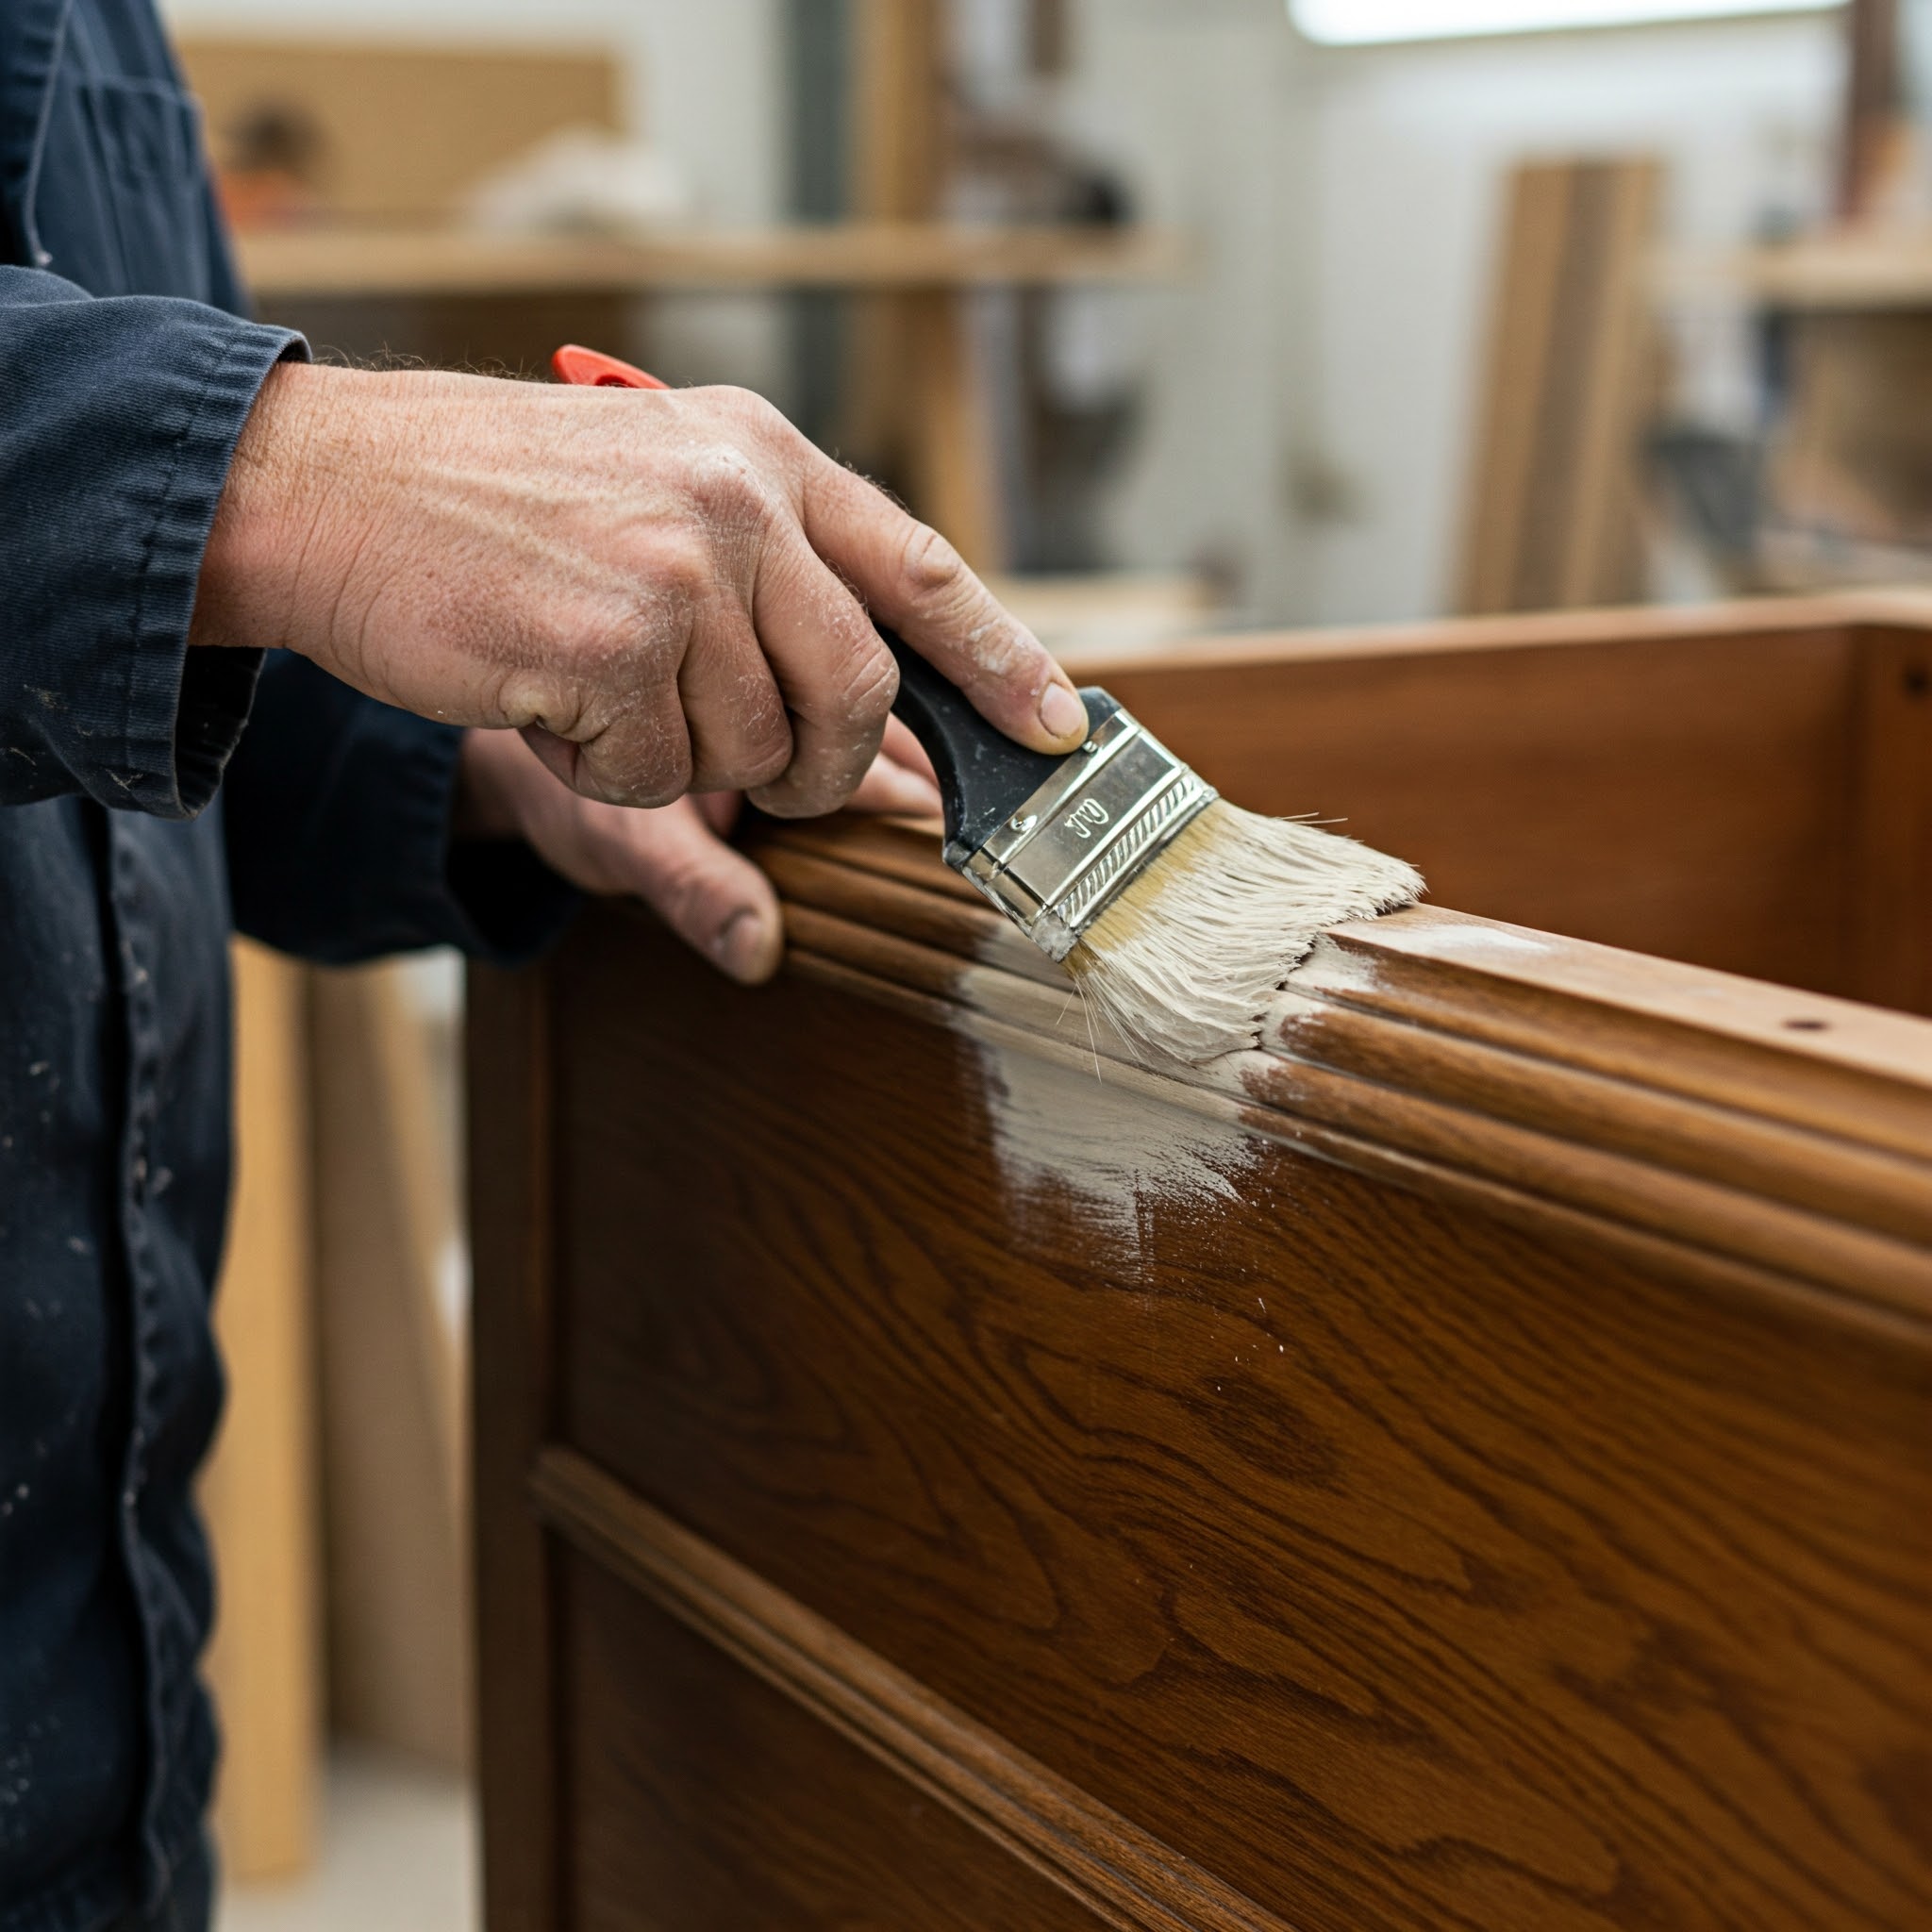
Primer is non-negotiable if you want your paint to last. It helps paint stick better, blocks stains, and evens out the surface.
Use water-based primer for clean, light woods, and oil-based primer for darker or tannin-rich woods like mahogany. Apply a thin, even coat using a brush or roller. Don’t rush—let it dry completely, usually 4–6 hours depending on the product.
Once it’s dry, lightly sand with 220-grit paper to smooth out the primer layer. Wipe off the dust before moving on.
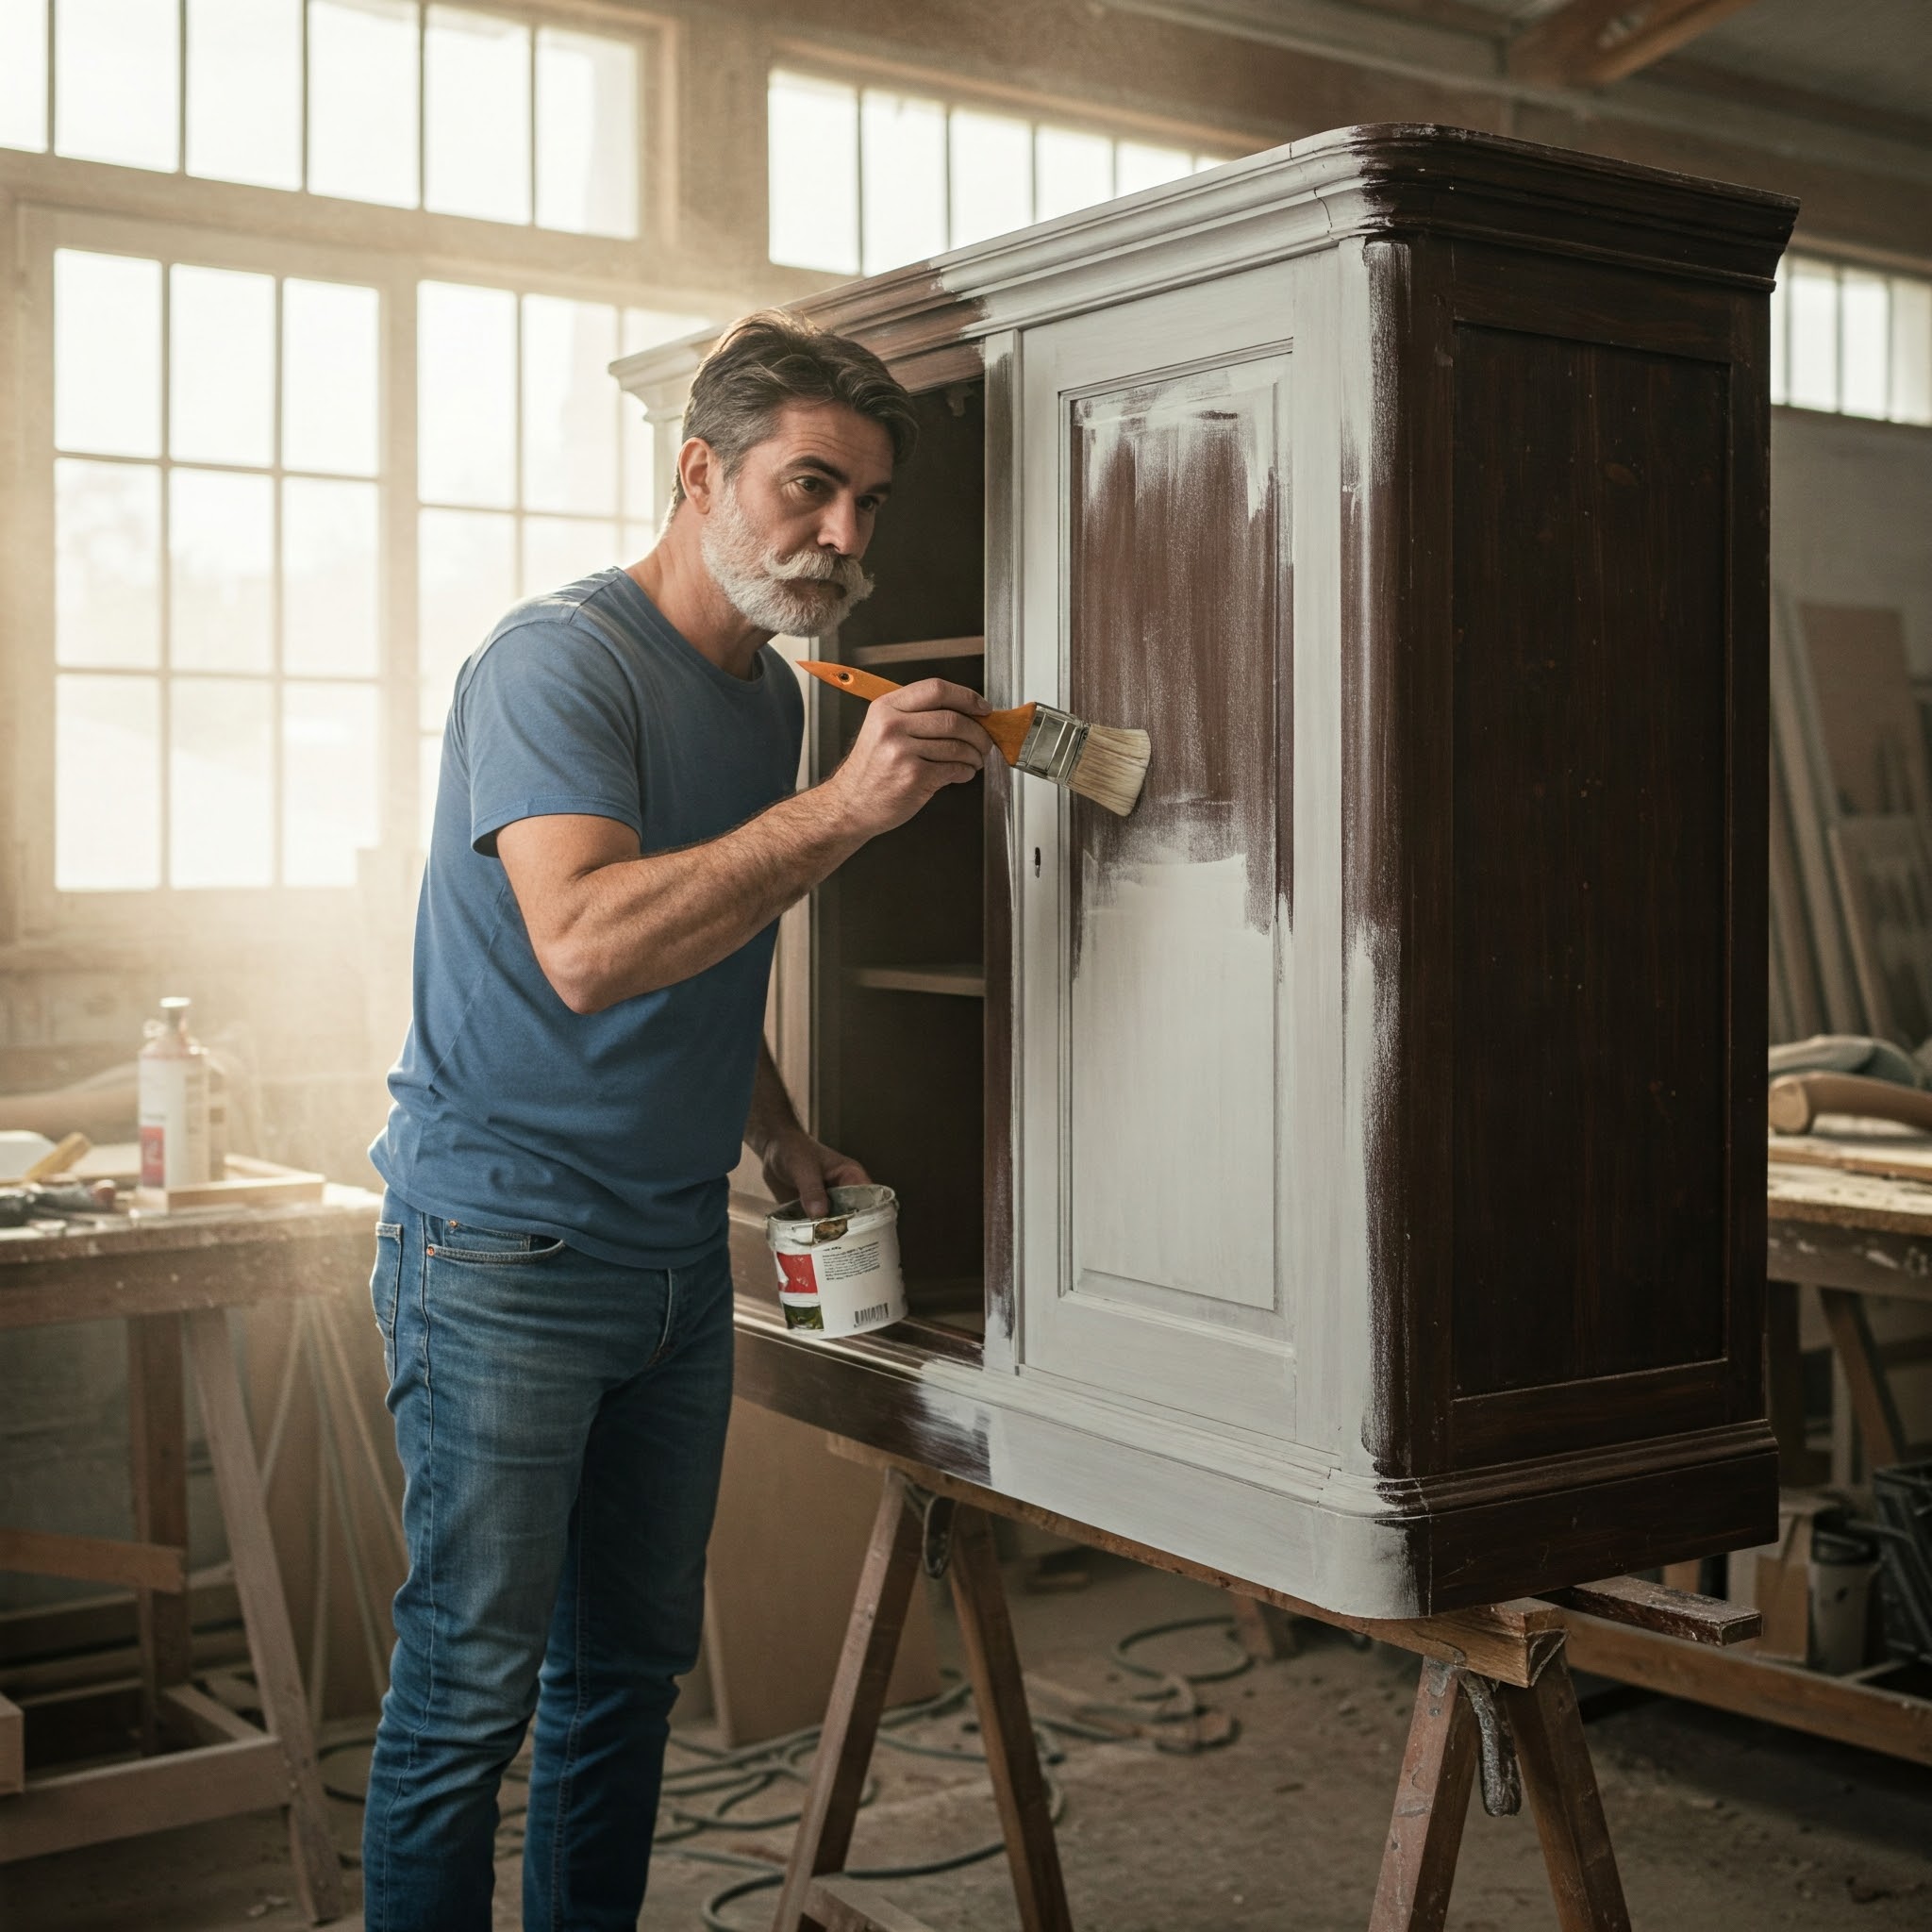
Step 4: How to Paint Without Streaks
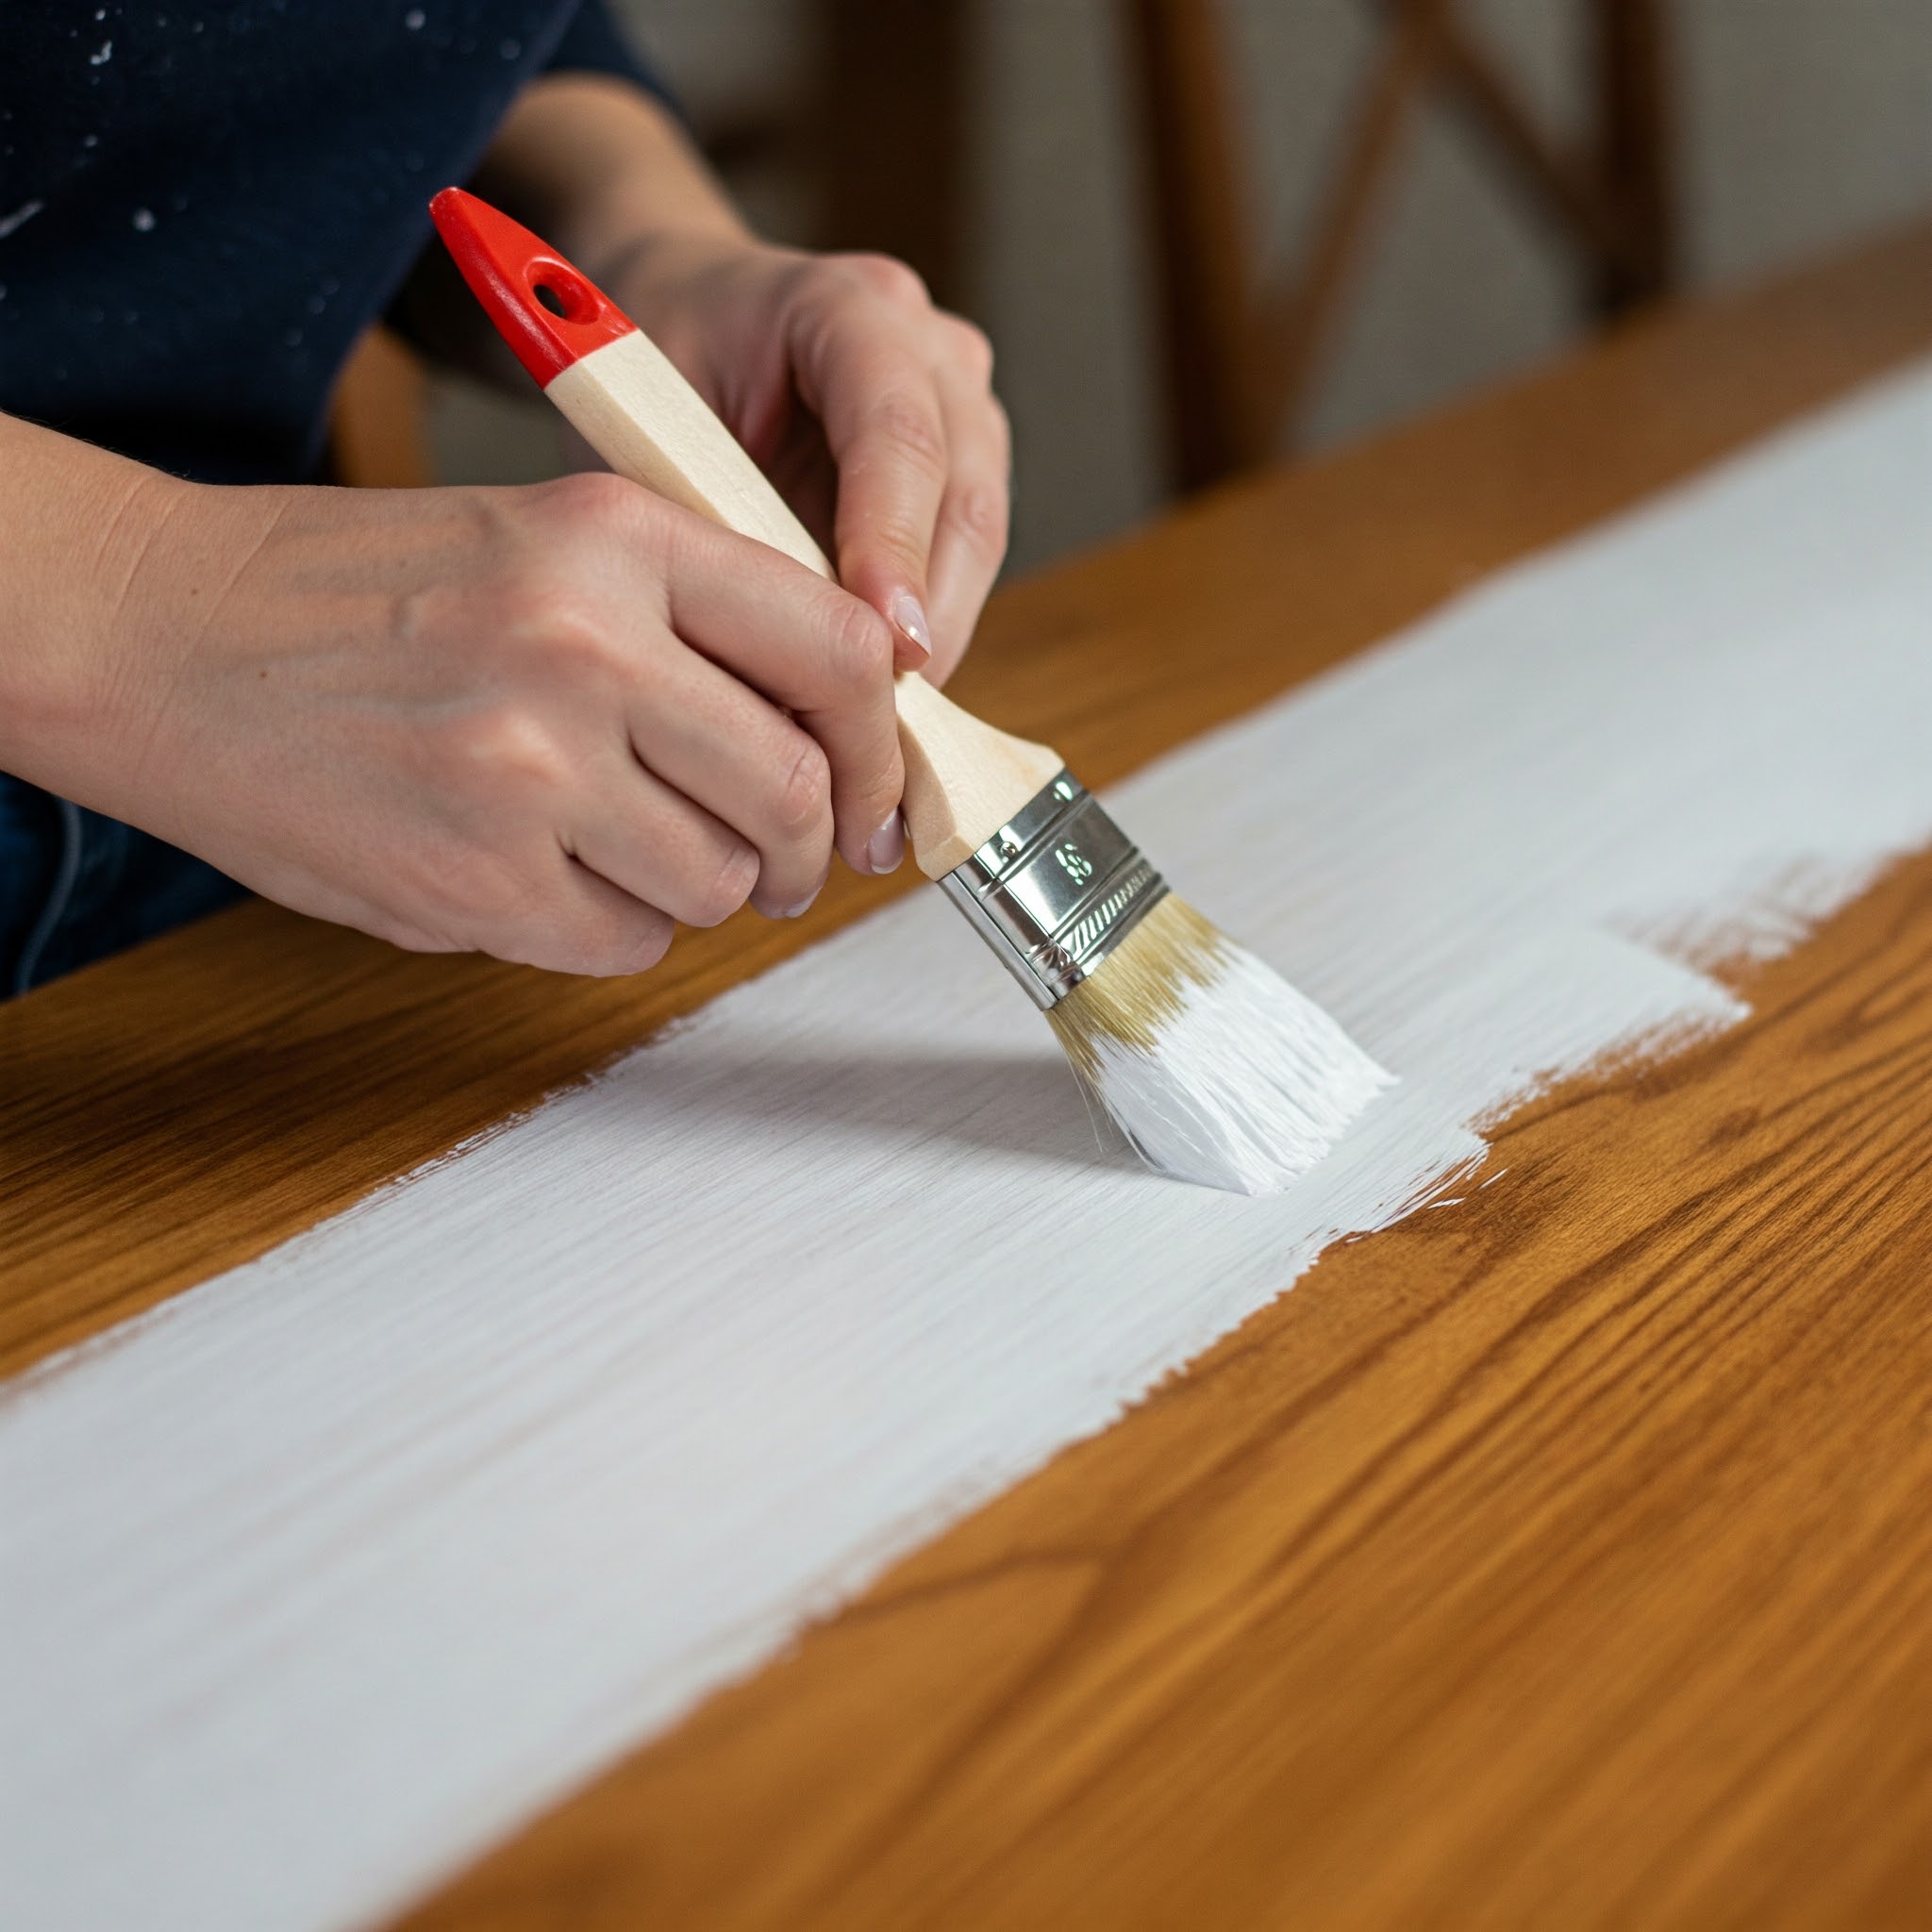
Choose high-quality paint—it makes a huge difference in coverage and longevity. Cheap paint tends to be watery and chips more easily.
Use a synthetic brush for corners and details, and a foam roller for flat surfaces. I like to start in a hidden spot to get a feel for how the paint behaves.
Pro tip: Apply thin coats. Thick coats take forever to dry and often crack or run. Keep your brush or roller strokes consistent and light. Avoid going back over areas that are already drying.
Wait at least 6–8 hours between coats. Two to three coats are usually enough. Lightly sand between coats with 220 grit for that buttery-smooth finish.
Step 5: Let It Cure, Not Just Dry
There’s a difference between dry and cured. Paint may feel dry to the touch within hours, but it can take days to fully cure and harden.
Let your furniture sit undisturbed for at least 24–48 hours before light use, and ideally 7 days before heavy use. If you rush this, you risk dents, scratches, or tacky finishes. For high-traffic pieces like dining tables, I sometimes wait two full weeks.
Step 6: Seal It for Long-Term Protection
Top coat is the invisible armor your paint job needs. It protects against scratches, moisture, and everyday wear.
Use polyurethane for a super durable finish—perfect for items that get a lot of use. For white or light colors, go with polycrylic since it won’t yellow over time.
Apply in thin, even layers with a clean brush. I recommend at least two coats, with a light sanding in between. The result: a professional-looking surface that resists wear and is easy to wipe clean.
Expert Tips I’ve Learned Over Time
- Always test paint in a hidden area first. Paint can dry darker or lighter than expected, and textures can behave differently on certain wood types. Testing first helps avoid surprises once the whole piece is done.
- Use bright lighting when painting. I always work with overhead lighting and a secondary lamp positioned at an angle. It helps highlight brush marks, drips, or uneven coverage that natural light might miss—especially during cloudy days or evening projects.
- Avoid painting in humid or rainy conditions. Moisture in the air can slow down drying time and affect how paint adheres. I’ve had projects bubble or remain tacky for days just because I painted during a rainy weekend. If you must paint indoors, use a dehumidifier or air conditioning to maintain stable conditions.
- Clean your brushes between coats. Don’t underestimate how fast paint can start to dry on your tools. I rinse mine thoroughly and gently pat them dry after every coat. A clean brush ensures smooth application and prevents chunks or streaks from leftover dried paint.
- Label and store leftover paint properly. I always keep a small amount of the same paint in a labeled jar for future touch-ups. Make sure it’s sealed tight and stored in a cool, dry place away from direct sunlight. This saves a ton of hassle down the road.
- Use painter’s pyramids or risers. These allow you to paint and seal edges without the furniture sticking to your work surface. They’re inexpensive and make a huge difference, especially when painting drawers, legs, or cabinet doors.
- Stay organized. Keep a checklist of the steps—cleaning, sanding, priming, painting, sealing. It’s easy to get ahead of yourself or skip something if you’re multitasking or rushing.
Common Mistakes to Avoid
- Skipping the cleaning step: This is one of the biggest causes of paint failure. Even if the furniture looks clean, oils from hands, old polish, or just dust buildup can keep primer and paint from bonding properly. Always clean thoroughly before doing anything else.
- Painting thick coats: It might seem like applying more paint at once will save time, but it actually does the opposite. Thick coats dry unevenly, are more prone to drips, and are more likely to peel or crack over time. Stick to thin, even layers for a durable and smooth finish.
- Skipping primer: Primer is what helps paint stick and last. Without it, you risk patchy coverage, more coats of paint needed, and a surface that chips easily. Primer also helps block stains or wood tannins from bleeding through light-colored paint.
- Not waiting for layers to fully dry: Rushing the process between coats can cause smearing, peeling, or a gummy surface that never feels fully set. Always check the label on your paint or primer for recommended dry times—and stick to them.
- Skipping the top coat: You might think the paint alone is enough, especially if it looks great. But without a protective finish, daily use can wear it down quickly. A top coat locks everything in, adds sheen, and makes the surface easier to clean.
Final Thoughts
Painting wood furniture is part art, part science. It’s not just about brushing on a new color—it’s about transforming a piece into something you’ll actually love and use. With the right prep and a bit of patience, even beginners can achieve pro-level results.
Feeling inspired? Good. Now go find that old cabinet or side table and give it a new story.
If you enjoyed this tutorial, there’s more where that came from. Check out our latest DIY tips, tricks, and project inspiration over at DIYHomeDecoratingIdeas.com. Whether you’re painting furniture, refreshing a room, or just browsing for your next creative fix—we’ve got you covered.